
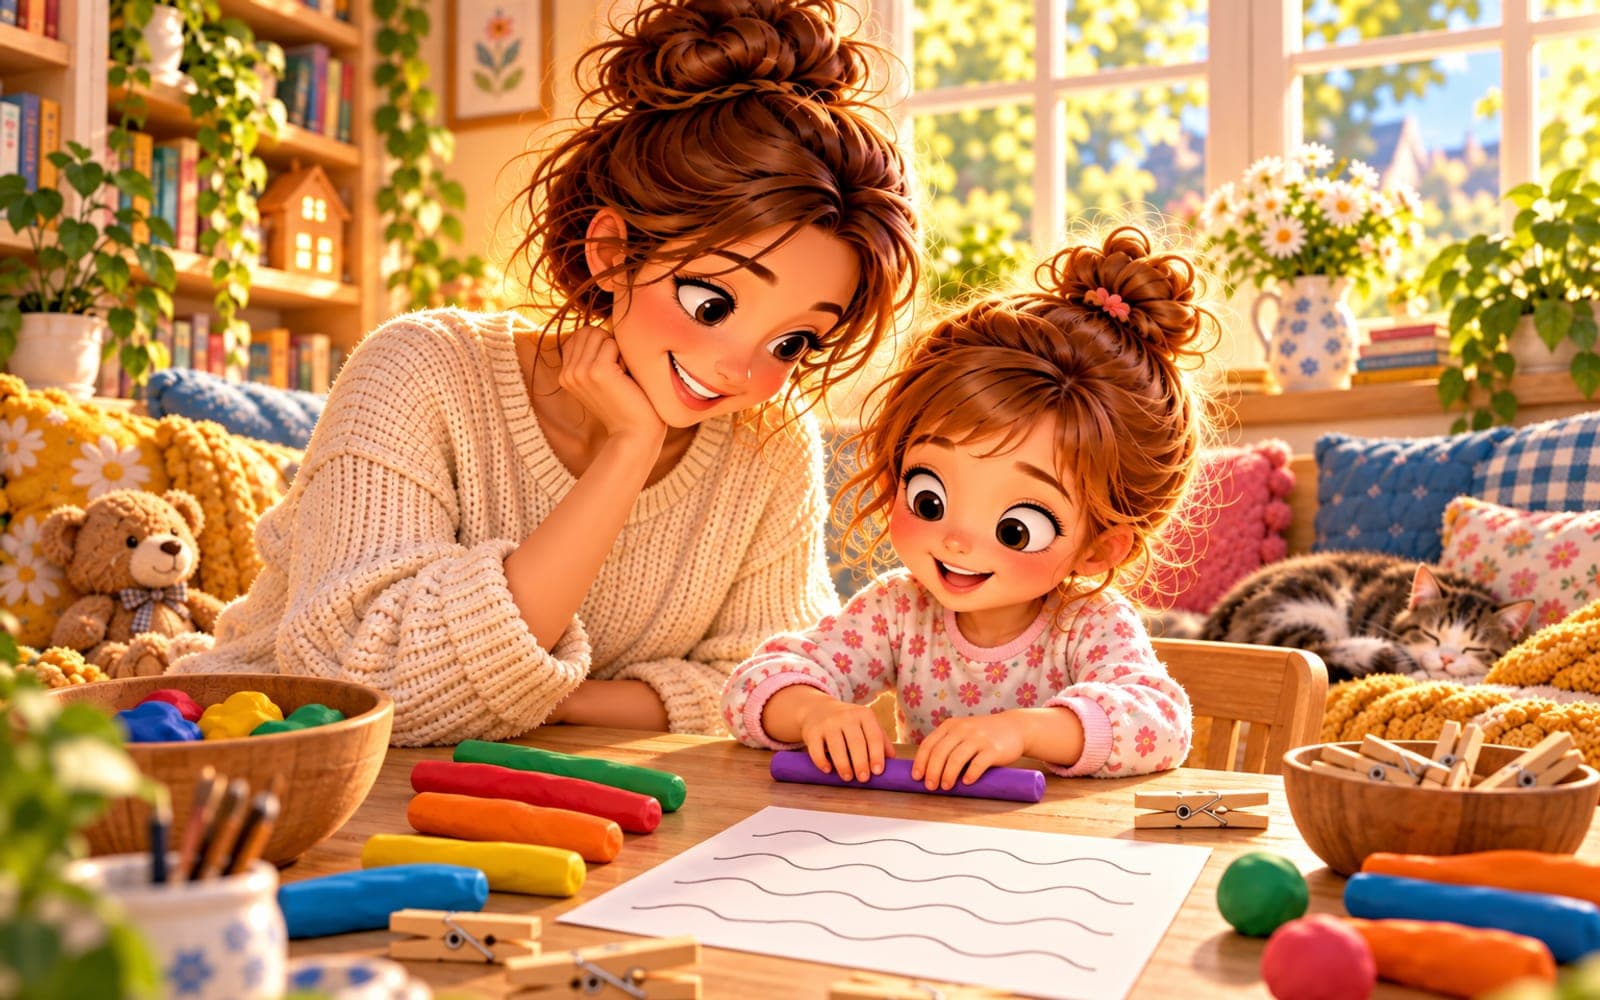
How should you prepare a child's hand for writing, and in what order?
It is best to move from large movements towards increasingly precise ones. Start with the shoulder and whole arm, then work on the hand and fingers, move on to large lines and shapes, and only later introduce pre-writing patterns and letters on handwriting lines.
In practice, the sequence can look like this:
- large shoulder and arm movements,
- modelling clay, pegs, tearing paper and other hand activities,
- drawing large circles, waves and arches,
- pre-writing patterns — from simple arches to loops and figure eights,
- tracing letters and numerals, followed later by independent writing.
Early writing develops from broad movement and fine-motor control towards increasingly precise marks. That is a good reason not to begin with cramped handwriting lines and repeated copying of whole rows of letters.
How can you exercise the shoulder, arm, hand and fingers before writing?
First give your child movement that does not yet require precise pencil control. Then gradually reduce the size of the movement and increase the accuracy.
Here are 12 simple activities:
- Large circles on big paper — 3 minutes. Materials: a large sheet of paper and a thick crayon. Your child draws big circles using the whole arm.
- Waves on a board — 3 minutes. Materials: chalk or a washable marker. Draw long waves from left to right.
- Painting with a brush — 5 minutes. Materials: a wide brush and water or paint. Start with vertical and horizontal movements, then add arches.
- Rolling modelling clay — 5 minutes. Materials: modelling clay or dough. Rolling, squeezing and pinching work the fingers.
- Clothes pegs — 3–5 minutes. Materials: pegs and a box. Your child clips and removes them around the edge.
- Tearing paper — 5 minutes. Materials: coloured paper and glue. Your child tears small pieces and sticks them onto a simple outline.
- Moving pompoms — 3 minutes. Materials: pompoms and child-safe kitchen tongs. Moving them from place to place practises grip precision.
- Finger maze, then crayon — 5 minutes. First trace the route with a finger, then use the maze generator.
- Large arches — 3 minutes. Materials: A3 paper and a crayon. Join two points with a broad arch.
- Gentle pre-writing patterns — 5 minutes. Start with valleys for a 4-year-old — gentle arches.
- Figure eights and loops — 5 minutes. When arches feel easy, move on to figure-eight practice for preschool children.
- Tracing letters — 5–10 minutes. Finally, use the letter and numeral generator, which lets children trace symbols on handwriting lines.
The American Academy of Pediatrics notes that preschool children gradually gain better control of hand and finger movements. Activities suggested for 4- and 5-year-olds include drawing, modelling with clay, cutting and sticking, and holding paper with one hand while drawing with the other.
How do you choose pre-writing patterns without starting too hard?
Pre-writing patterns should come after large movements and hands-on play, not be the first exercise. Begin with broad arches and waves, then introduce more complex movements: alternating waves, loops and figure eights.
In the pre-writing pattern generator you can choose from 20 patterns on handwriting guides. Ready-made sheets are also available in printable pre-writing patterns. A child who can guide the line smoothly without support can try small waves for early primary.
This article covers overall hand preparation. The order of pattern types is explained in more detail in pre-writing patterns for children — where to start.
How should a child hold a crayon and sit at the table?
The grip should above all be comfortable and functional. With a 4-year-old, there is no need to force an “ideal” tripod grip if the child draws freely and without discomfort. A shorter or thicker crayon is often more useful while you watch whether control becomes more precise over time.
At the table, the feet should be supported and the forearms should be able to rest comfortably on the surface. The paper does not have to lie perfectly straight. Position it so the writing hand can move without twisting the wrist, while the other hand holds the paper steady.
Colouring can also provide calm practice in controlling a drawing tool. Useful ideas are available in colouring activities for a 4-year-old.
What should children practise at ages 4, 5, 6 and 7?
Treat ages as approximate. Hand control develops at different rates, so how the child performs the task matters more than the birthday.
Approximate age | What to practise | Sign that the child may be ready to move on |
|---|---|---|
4 years | large movements, modelling clay, tearing paper, pegs, broad arches | the child guides a crayon freely and willingly returns to drawing |
5 years | waves, arches, simple pre-writing patterns, mazes | keeps the direction of movement and increasingly stays within a broad path |
6 years | loops, figure eights, patterns on handwriting guides, first traced symbols | can repeat a pattern several times without obvious tension |
7 years | letters on handwriting lines, joining letters into short words | writing remains legible and the hand does not tire after a few minutes |
In the first year of formal schooling, it is useful to combine these activities with letter-writing practice, rather than limiting practice to copying patterns.
How can you make a 4-week plan of 5–10 minutes a day?
Keep the plan short and repeatable. Five calm minutes done regularly are better than one long session that makes the child avoid the pencil afterwards.
Week 1 — large movement: circles on big paper, waves on a board, brush painting, vertical and horizontal movements.
Week 2 — hand and fingers: modelling clay, pegs, tearing paper, moving small objects with tongs.
Week 3 — precise lines: mazes, gentle arches, waves and simple pre-writing patterns. On one day, one short row can be enough.
Week 4 — handwriting guides and letters: loops, figure eights and, if the child is ready, traced letters and numerals. Do not increase the difficulty if the movement becomes stiff or the child starts gripping the crayon very tightly.
How can you help a left-handed child?
Do not make a left-handed child switch to the right hand. Let the child use the hand they naturally choose for drawing and writing.
For a left-handed child, angle the paper slightly to the right — the upper left corner higher and the upper right corner lower — and place it a little to the left of the body's centre so the hand can move below the line instead of covering it. At a shared table, seating the left-handed child to the left of a right-handed person can prevent their elbows from colliding.
What mistakes should you avoid when a child is learning to write?
The most common problem is not a shortage of worksheets, but moving to small symbols too quickly.
- Do not begin with a whole page of letters on narrow handwriting lines.
- Do not reposition the child's fingers every time the crayon moves.
- Do not expect identical shapes from a 4-year-old and a 7-year-old.
- Do not make the child repeat a pattern when the hand is clearly tired or the crayon is being pressed very hard.
- Do not skip hands-on activities just because they do not look like “writing”.
When should you talk to a teacher or therapist?
Ask a teacher to observe if your child consistently avoids drawing and writing, quickly feels discomfort, struggles with everyday hand tasks, or despite calm practice cannot control a crayon at the level needed for activities in their group or class.
This does not point to one specific condition. A teacher can explain how the child manages comparable activities in preschool or school. If the difficulty clearly affects everyday functioning, an appropriate professional such as an occupational therapist or paediatric physiotherapist may suggest further assessment.
Sources
- American Academy of Pediatrics, Hand and Finger Skills of Your Preschooler, updated 2022.
- Minister Edukacji, Rozporządzenie z 11 marca 2026 r. w sprawie podstawy programowej wychowania przedszkolnego oraz szkoły podstawowej, Dz.U. 2026 poz. 378, 2026.