
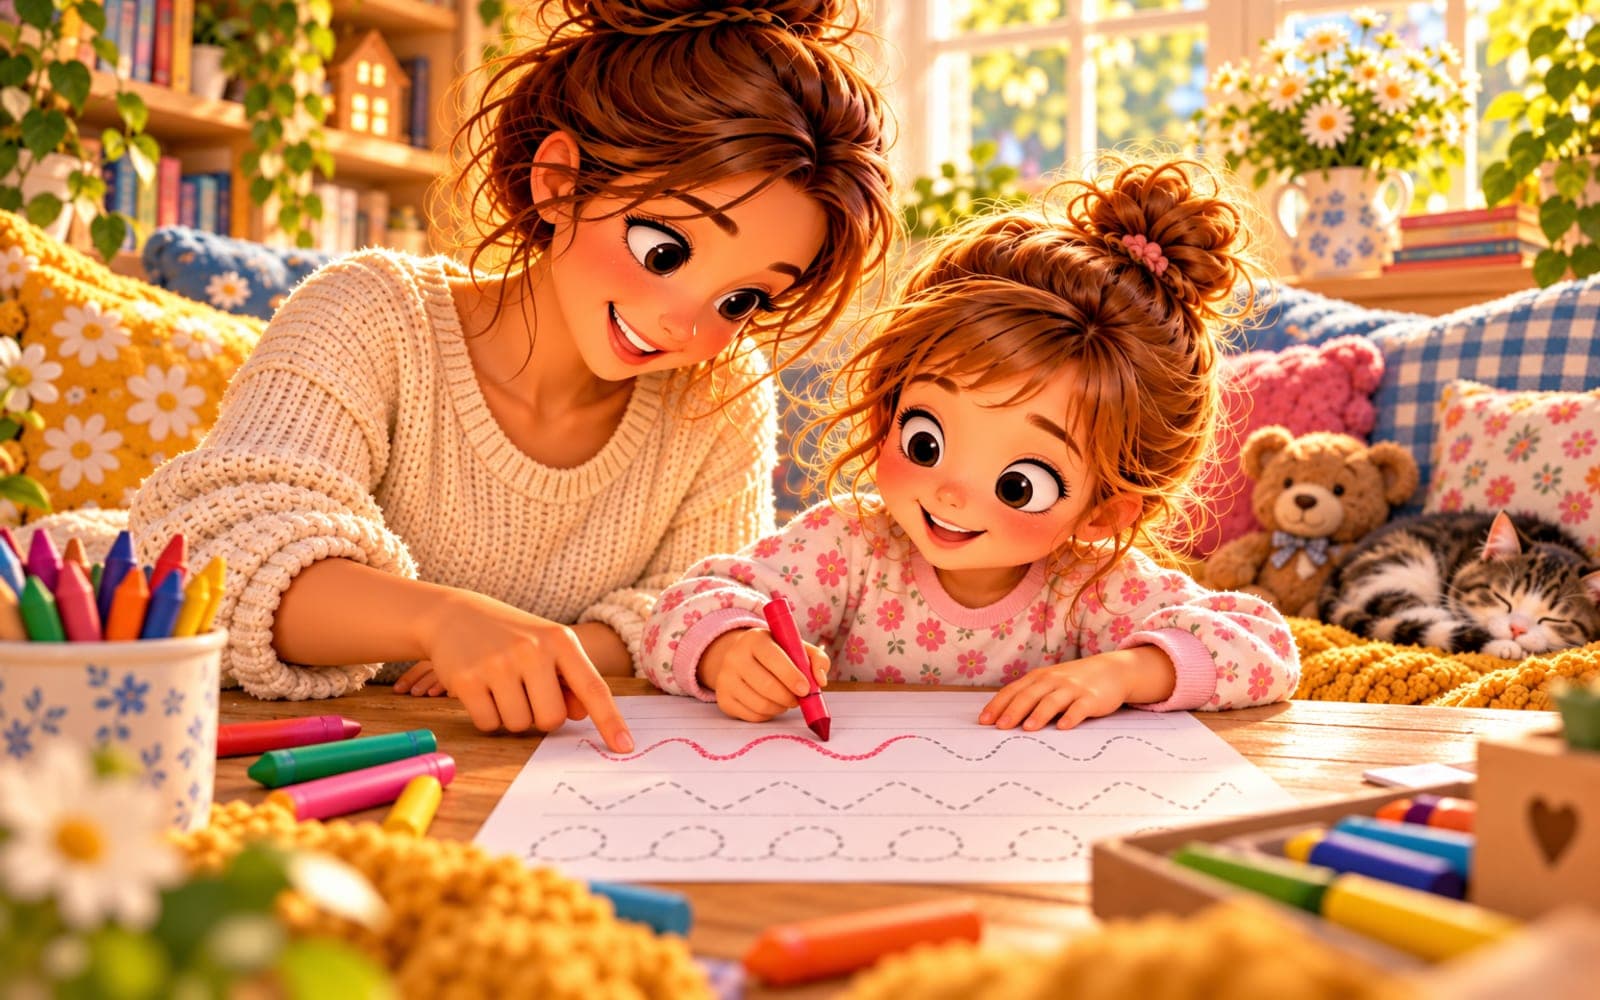
What tracing patterns should children practise first?
The simplest approach is to move from basic motions to patterns that require more frequent changes of direction and finer hand control.
- vertical lines for ages 3–4,
- waves for ages 3–4 and arches: bridge shapes for ages 3–4 and valley shapes for age 4,
- circles for ages 4–5,
- diagonal lines and zigzags,
- loops,
- figure eights and spirals.
The aim of this order is not to get a child onto “hard patterns” as quickly as possible. It gives them time to learn each movement. A straight line means moving the hand in one direction. A wave adds a smooth change of direction. A circle has to close. A zigzag introduces clear turns. A loop combines upward and downward movement with crossing the child’s own line, while figure eights and spirals demand even more flow.
Do not expect a child to complete an entire row without lifting the pencil. With some patterns, lifting the pencil is a natural stage of learning. Control and calm movement from one element to the next matter more than speed.
When you introduce a new pattern, watch the movement as well as the result on the page. If your child pauses at every corner of a zigzag, that is fine. If they lose the direction of a loop, go back briefly to large arches and circles. Taking one step back is not failure; it reinforces the movement needed for the next pattern.
Why is it worth practising large movements first?
Show a new tracing pattern in a large format first, because a large movement is easier for a young child to plan than a small movement inside narrow guidelines.
You can do this in three steps:
- Trace the pattern in the air with a finger, using a wide movement of the whole arm.
- Repeat it on a board, a large sheet of paper, or paper taped to a wall.
- Only then move to a worksheet on the table.
With waves, your child can first move their hand over large “hills and valleys.” With circles, they draw wide circles. With zigzags, they pause clearly where the direction changes.
Once the movement feels familiar, you can make the pattern smaller. At this stage, try vertical lines for ages 3–4, waves with a colouring picture for ages 3–4, bridge shapes for ages 3–4, valley shapes for age 4 or circles for ages 4–5.

How can you use tracing guides and gradually remove the help?
A tracing guide should help a child start the movement, but over time it needs to be reduced so the child begins planning the pattern independently.
With a new pattern, begin with a full tracing line. Your child follows it from left to right. Next, leave the tracing guide only in the first part of the row. In the second part, the child continues the pattern independently. The next stage is one example at the start with blank space beside it.
You can see this progression clearly in ready-made resources. For an older child, try mixed tracing patterns with half the row guided. Move on to harder patterns only when the simpler ones feel comfortable.
If you want to match the activity to your child’s level, use the tracing worksheet generator. You can choose the pattern, element size and amount of guidance instead of being limited to one fixed layout.
Why does left-to-right direction matter?
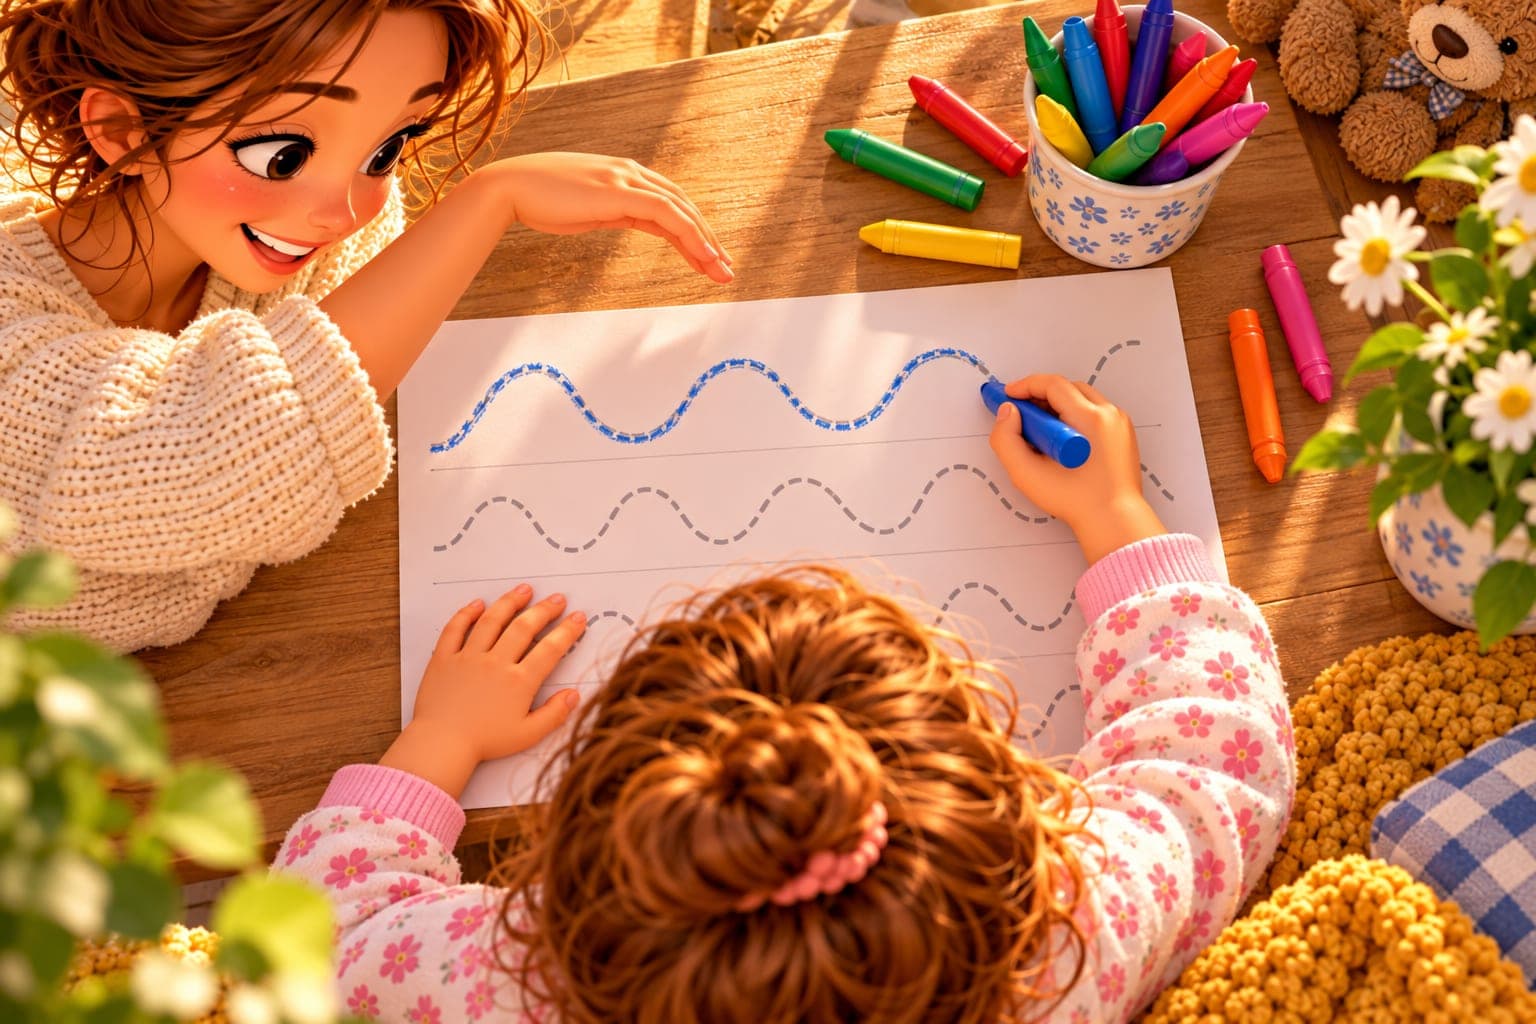
It is helpful to trace from left to right because this is the direction children will later use when reading and writing in English.
You do not need to give a long explanation. Simply point consistently to the starting place on the left side of the page and say, “Start here.” During the first attempts, you can place your finger next to the starting point.
Pay particular attention to direction when your child draws waves, zigzags and loops. If they start in the middle or on the right, do not correct the whole row. On the next row, show the starting place again.
How should you choose tracing patterns for your child’s age?
Age is only a guide. A better test is whether your child can make the movement without a lot of tension and understands how to guide the line.
Approximate age | Patterns | Best format |
|---|---|---|
Ages 3–4 | vertical and horizontal lines, large waves and arches | air tracing, board, large sheet |
Ages 4–5 | bridge shapes, valley shapes, circles, gentle diagonals | large sheet, wide lines on paper |
Ages 5–6 | zigzags, loops, simpler spirals | worksheet with a clear tracing guide, then partial support |
Around age 6 | figure eights, longer loops, spirals and mixed patterns | paper worksheet, smaller patterns, gradually less tracing support |
For a child who is already comfortable changing direction, the next step can be cross tracing patterns for ages 6–7. Later, you can also introduce spring-shaped tracing patterns for ages 5–6.
How long should children practise tracing patterns?
For children aged 3–6, 5–10 minutes at a time is usually enough. It is better to stop after one short activity than continue until your child is tired.
If your child loses interest after three minutes, shorten the session. If they want to finish the whole row, let them. Tracing patterns are most useful when repeated regularly without pressure to complete a certain number of pages.
Signs that it is time to stop include gripping the pencil more tightly, repeatedly correcting lines, or shifting body position because of tiredness.
How can you support posture and pencil grip without correcting constantly?
The most important thing is that your child feels stable and comfortable. Their feet should be supported, their forearms should rest comfortably on the table, and the paper should not slide away.
Do not force the fingers into position during every movement. If the grip looks uncomfortable, calmly demonstrate another way to hold the crayon and let your child try again. A thicker crayon may be easier for a younger child to control than a thin pencil.
Do not compare one child’s tracing patterns with another child’s. At this age, smooth movement, direction and growing control matter more than making every pattern perfectly even.
What adult mistakes can make tracing practice harder?
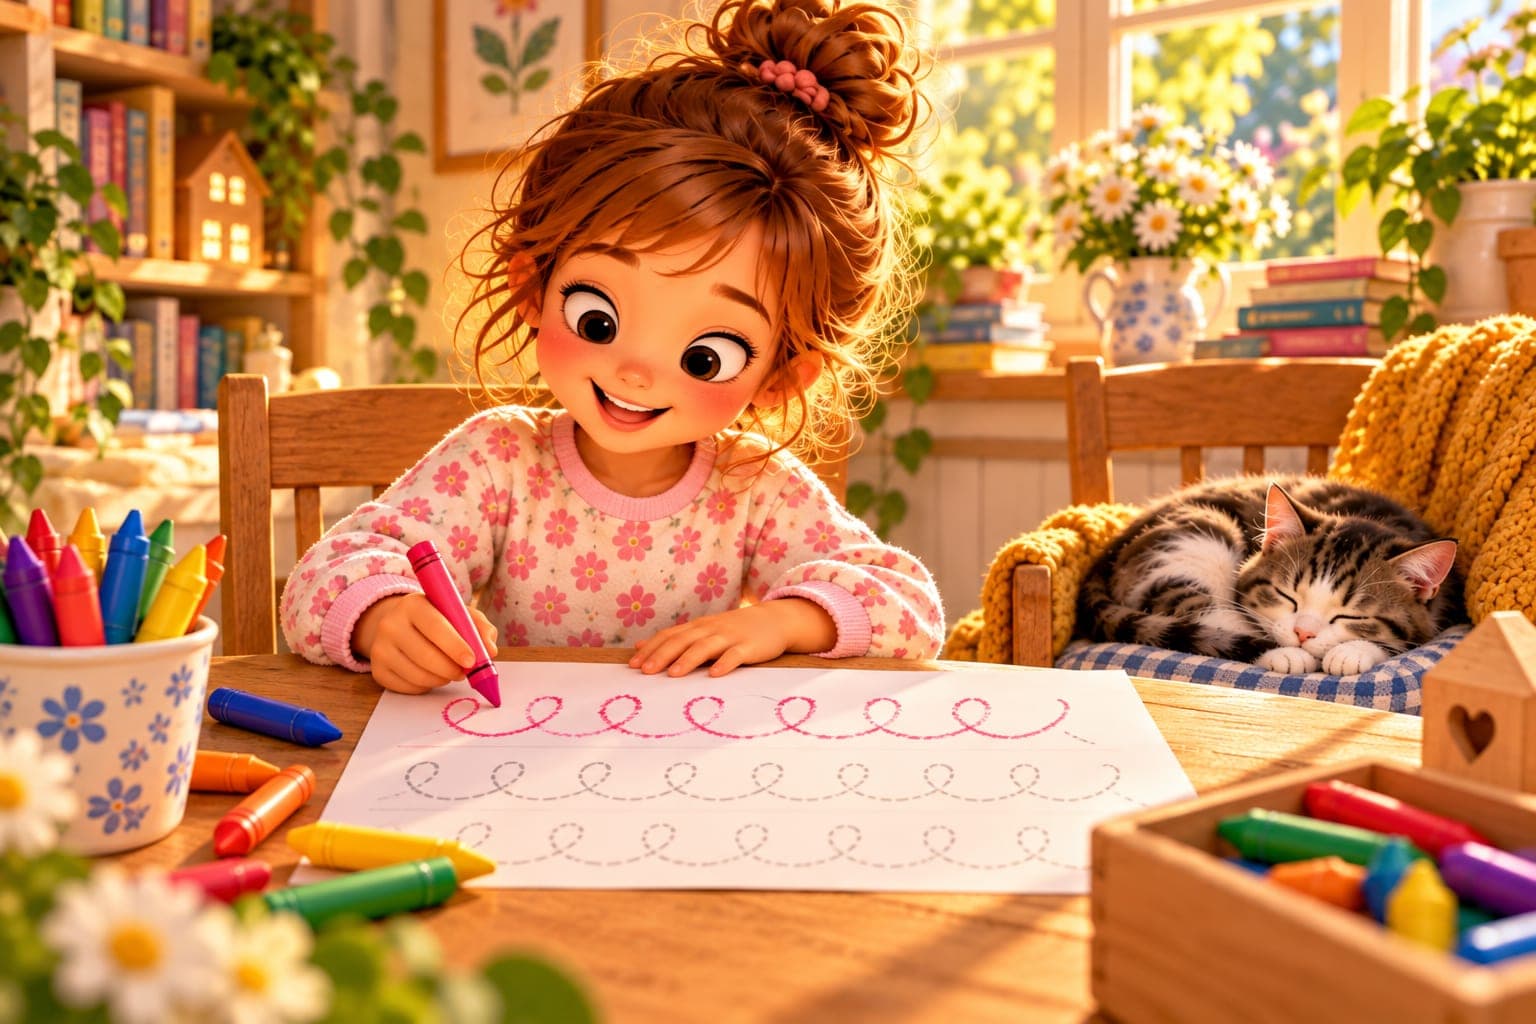
The most common mistake is moving too quickly to small, difficult patterns.
- Loops before simple lines. The child then has to manage too many changes of direction at once.
- A format that is too small. If a large pattern is difficult, a small one will be even harder.
- Using a full tracing guide for many weeks. The child practises copying but gets fewer chances to plan the movement independently.
- Constantly correcting grip and lines. Too many comments distract from the movement itself.
- Sessions that are too long. A tired hand usually becomes less accurate.
- Expecting a perfect pattern. A tracing pattern is practice, not an art test.
When are tracing difficulties worth discussing with someone?
One difficult pattern is not a reason to worry. Young children develop hand control at different rates.
It is worth talking to a teacher, early-years practitioner or specialist if difficulties continue despite simpler activities and larger formats, your child clearly avoids all drawing activities, or regularly complains of pain or very quick hand fatigue. A consultation can help you choose an appropriate way to practise, but difficulty with tracing on its own does not indicate a disorder.
Early-years school programmes generally emphasise physical development and learning through activity. Guidance on readiness for writing commonly includes tracing, copying simple shapes, using drawing tools appropriately and developing spatial awareness on the page. This fits well with a calm, gradual introduction to tracing patterns.
Sources
- Ministerstwo Edukacji, Nowe podstawy programowe wychowania przedszkolnego i kształcenia ogólnego dla szkoły podstawowej, 2026: https://www.gov.pl/web/edukacja/nowe-podstawy-programowe-wychowania-przedszkolnego-i-ksztalcenia-ogolnego-dla-szkoly-podstawowej-wraz-ze-zmianami-w-ramowych-planach-nauczania-dla-publicznych-szkol-podstawowych--rozporzadzenia-podpisane
- Ośrodek Rozwoju Edukacji, Wychowanie przedszkolne. Podstawa programowa w Reformie26. Kompas Jutra. Poradnik, 2026: https://ore.edu.pl/publikacje/wychowanie-przedszkolne-podstawa-programowa-w-reformie26-kompas-jutra-poradnik/
- Ośrodek Rozwoju Edukacji, Przewodnik po narzędziach edukacyjnych do wychowania przedszkolnego i edukacji wczesnoszkolnej, 2024: https://ore.edu.pl/wp-content/uploads/2024/07/przewodnik-po-narzedziach-edukacyjnych-do-wychowania-przedszkolnego-i-edukacji-wczesnoszkolnej.pdf